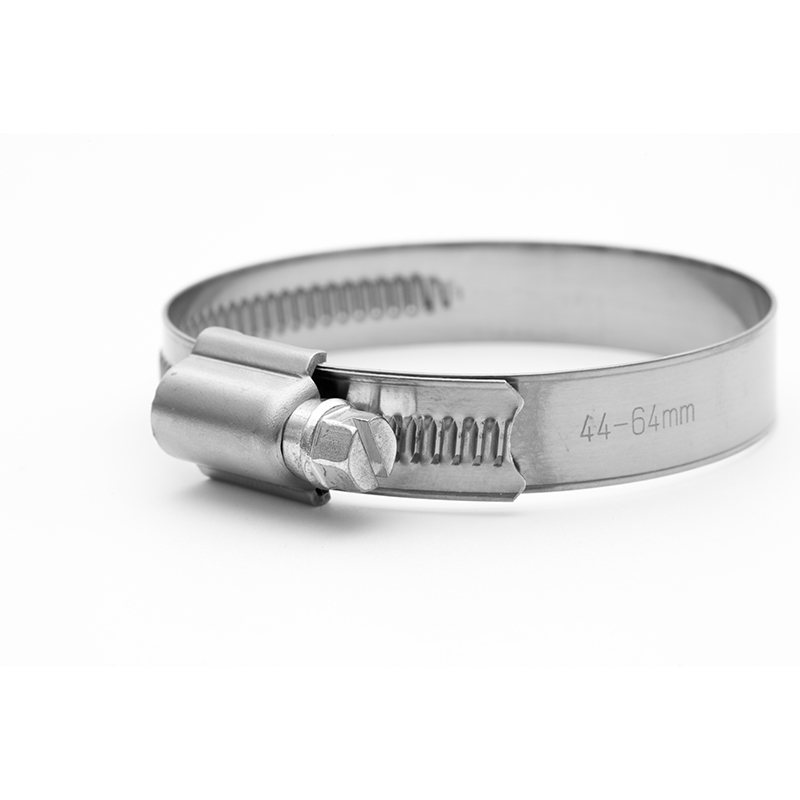
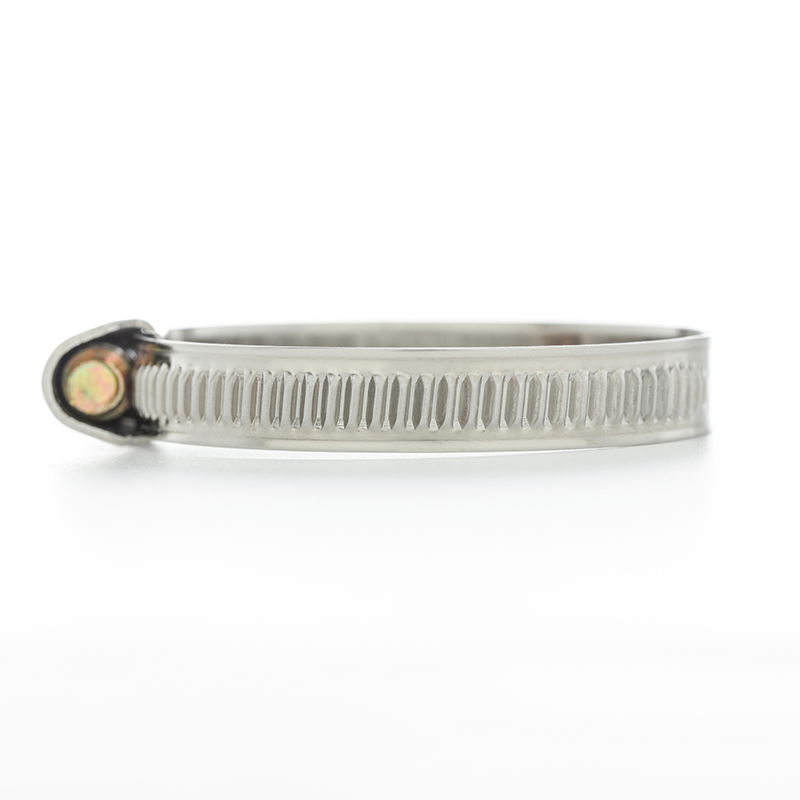
The right clamps can make all the difference when it comes to securing pipes, hoses, and other cylindrical objects. Among the various types, 100mm pipe clamps, German hose clamps and stainless steel hose clamps are particularly popular due to their durability and reliability. In this article, we'll guide you through the step-by-step installation process of 100mm pipe clamps, ensuring a safe and efficient installation.
What do you need
Before you begin, gather the following tools and materials:
- 100mm pipe clamp
- Screwdriver or wrench (depending on clamp type)
- Tape measure
- mark
- Safety gloves
Step by step instructions
Step 1: Measure the Pipe
First, measure the diameter of the pipe you want to clamp. Use a tape measure to ensure accuracy. 100mm pipe clamps are designed for 100mm diameter pipes, but it's best to check carefully.
Step 2: Choose the right fixture
Choose the right clamp based on your needs. German-style hose clamps are known for their rugged design and ease of use, while stainless steel hose clamps offer excellent corrosion resistance, making them ideal for use outdoors or in harsh environments. Make sure the pipe clamp you choose is suitable for pipes up to 100mm diameter.
Step 3: Position the Clip
Place the clamps in the desired locations around the pipe. If you use a German-type hose clamp, make sure the screw mechanism is easy to operate. For stainless steel hose clamps, make sure the straps are placed evenly around the pipe.
Step 4: Mark the location
Once the clamp is in place, use markers to outline its location on the pipe. This will help you maintain proper alignment during installation.
Step 5: Tighten the clamps
Using a screwdriver or wrench, start tightening the clamps. For German style hose clamps, turn the screw clockwise to tighten. For stainless steel hose clamps, use the appropriate tool to secure the strap. Tighten the clamp until it is snug, but not too tight as this may damage the pipe.
Step 6: Check for fit
After tightening, check the fit of the clamps. Make sure it is secure and cannot move. If necessary, make minor adjustments for a perfect fit.
Step 7: Check for leaks
If the pipe is part of a fluid system, turn on the flow and check for leaks around the clamps. Properly installed clamps should prevent any leaks. If you notice any issues, tighten the clamps further or reposition them as necessary.
Step 8: Final Adjustments
Make final adjustments to ensure the clamps are secure and properly aligned. Double check that all screws or fasteners are tight and that the clamps are holding the pipe securely in place.
Tips for successful installation
- Use Quality Pipe Clamps: Invest in quality pipe clamps, such as German-type hose clamps or stainless hose clamps, to ensure durability and reliability.
- Avoid over-tightening: Over-tightening may damage the pipe or fixture. Tighten just enough to secure the pipe without causing damage.
- Periodic Inspections: Regularly inspect clamps for signs of wear or looseness, especially in high vibration environments.
In conclusion
Installing a 100mm pipe clamp is a simple process that can be accomplished with the right tools and a little patience. By following these step-by-step instructions, you can ensure a safe and secure installation of pipes and hoses. Whether you choose German-style hose clamps or stainless hose clamps, proper installation is key to maintaining system integrity.
Post time: Nov-15-2024


